

Photo 1 : Blocking areal by road
Before land clearing to be easier to control the next field operation is done blocking. Size of blocking in rubber block is between 30 – 40 ha . After the work of blocking is continued to make the road having wide 6 meters

Photo 2 : Upkeep road
Upkeep of road is done both by manual and grader if met low land must be dug a drain. Principle of upkeep road is no water haltingly in the surface of road. Water must flow to the drain immediately.bo

Photo 3 : Cut and fill
Cutting road to reduce slope is necessary in hill. Cutting a road is used bulldozer when fill is used compactor to compact a road

Photo 4 : Pulling stum and ripping
Stumps are pulled out and stacked in the direction North to south by bulldozer. Depth of ripping is 50 cm. All of roots having diameter minimal 1 ( one ) cm pulled out from land collected manual. Areal must be free from remaining root which can develop as root disease if no treatment.

Photo 5 : Mechanical stacking
Tree stumps were stacked and collected in the inter row together root collection. Distance inter stacking depend on density of tree. Normally is 25 – 50 m . Wide of stacking is maximum 4 meters. Stump of jungle tree and invaluable wood were stacked in the row in the new planting The hopefully all of invaluable wood will be decomposed naturally during immaturity period

Photo 6 : Plowing I
Depth of plowing minimal 25 cm done crossing by 4 wheel tractor and equipment disc plow and frequency 2 time. Plowing I directions North and South continued plowing II with different direction is East and West

Photo 6 B : Root collection
After plowing all of roots having diameter up 1 cm are collected by manual and put in the inter row stacking. Remaining of root if not to collected will appear potential as source of root disease

Photo 7 : Plowing II completed
Areal new planting is ready to be transplanting by rubber polybag. New road is available for transpoting rubber polybag

Photo 8 : Germination seeds
Seeds have germinated for 21 days. Seeds are not germinated in this period will be rejected. Normally percentage germination is 70 % .For 1 ha field planting need 10 kg seeds

Photo 9 : Star stadium
Star stadium in the germination phase is suitable time to plant in polybag nursery or ground nursery . Seeds that recommended to be germinated is clone GT 1 and PB 260

Photo 10 : Filling soil in polibag
Top soil mixed fertilizer CIRP is ready to fill into polybag. Dosage CIRP per polybag is 100 gr. Top soil filled in polybag must be free from roots

Photo 11 : Polybag nursery
Polybag were put on plastic in order to root of rubber on the growth not to contact earth. The row containing double polybag have distance inter row polybag is 1 meter. Density per ha is 80,000 polybag after reducing by collection road

Photo 12 : Planting seedling in polybag
Each polybag planted 2 seedlings after 1 month age will be culled 50 % , chosen seedling which is most vigorous than others . The culling will be repeated in next 3 and 6 months age

Photo 13 : Upkeep in nursery polybag
Watering in nursery polybag done should be intensive in order to produce the excellent quality polybag. Nursery is watered everyday if no rain or rain below 8 mm

Photo 14 : The vigorous seedling polybag
The seeding having 5 - 6 months ages are ready to budded although dry season . Budding in nursery polybag not depend on dry or wet season. Beside that also not depend on leaf condition ( young and old )

Photo 15 : The budded seedling
Seedling was budded by quick starter clone ( PB 260 , RRIM 912 , RRIM 911 ) to get high productivity in the beginning of maturity

Photo 16 : The success budded seedling
Inspection done 3 weeks after budding to check budding success or not The indicator success budding is bud wood look green color after plastic opened .Standard percentage success in budding is average 85 %.
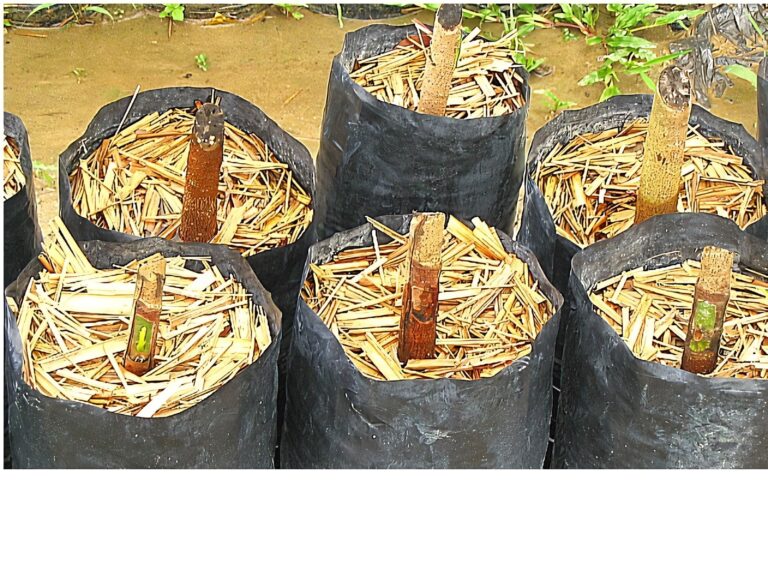
Photo 17 : The budded stump
The success budded seedling is cut in 5 -10 cm on bud wood to stimulant bud wood growing. Illegal new shoot growing not from bud wood must be prune once a week
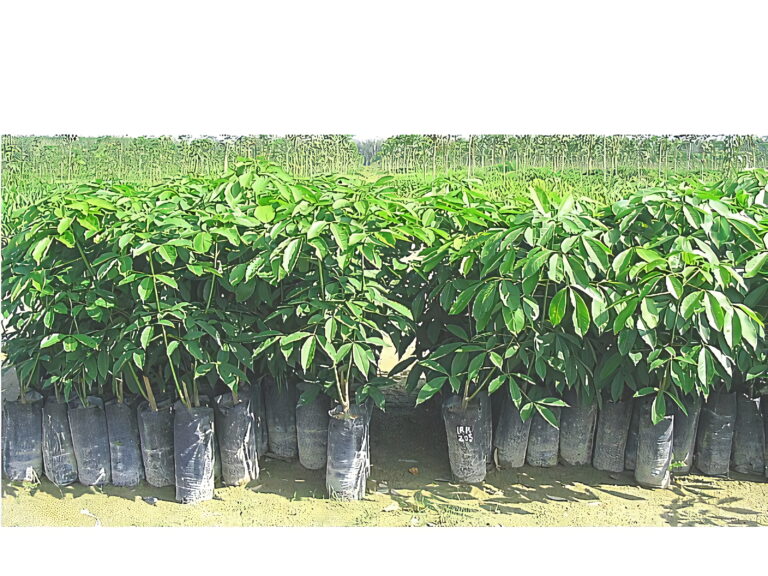
Photo 18 : The success budded seedling
Inspection done 3 weeks after budding to check budding success or not The indicator success budding is bud wood look green color after plastic opened .Standard percentage success in budding is average 85 %.
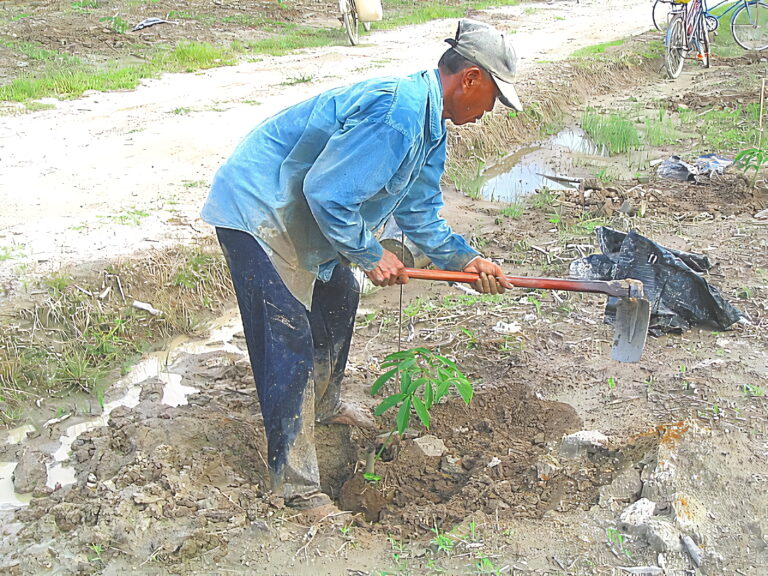
Photo 19 : Planting rubber
Rubber is planted in the field in the size of hole 50 x 50 x 50 cm. Polybag is opened and given fertilizer CIRP 150 grams per hole to stimulate root growth
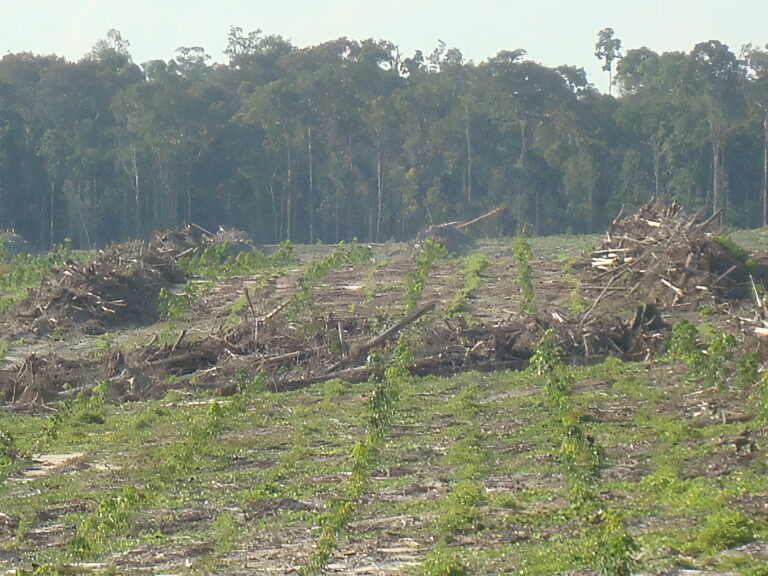
Photo 20 : New planting area
Rubber that planted must be deep. Point of bud wood planted must be below a land surface. Density per ha is 512 trees with planting distance 6 x 3.25 cm
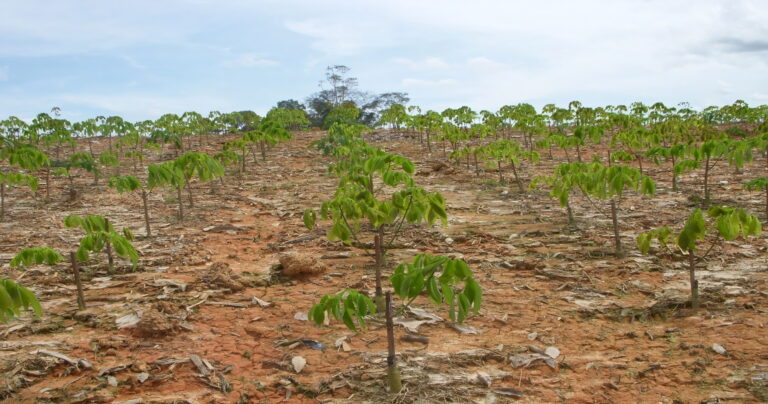
Photo 21: Kebun entress ( buddwood )
Kebun entress is source of bud wood which are planted 2 years before planting in the large scale. The planting distance 1 x 1. 5 m with infrastructure 25 % , density per ha 5000 trees. The first cutting of bud wood can be used 8 – 9 months after planting.
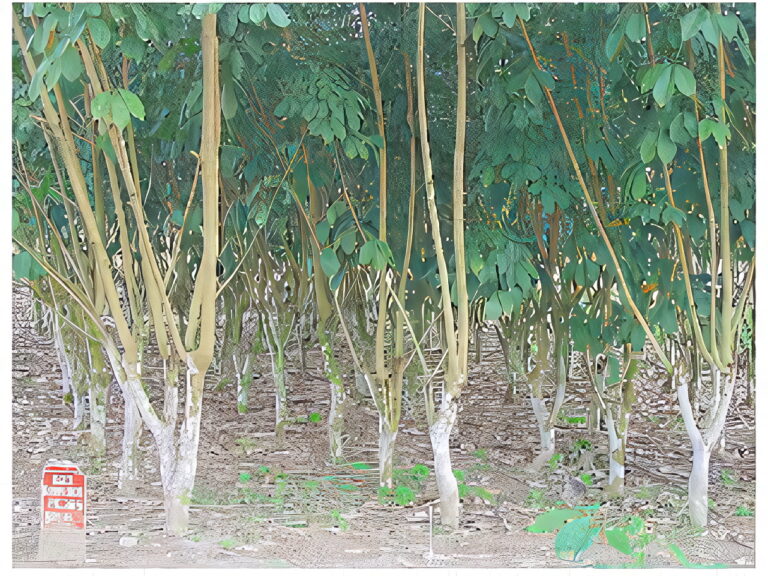
Photo 22 : Budd wood stock
Branches of plant were maintained in order to grow normal , only the vigorous branch which will be maintained . The second year is maintained 2 branches per tree. The third year is maintained 3 branches per tree. The fourth year is maintained 4 branches.
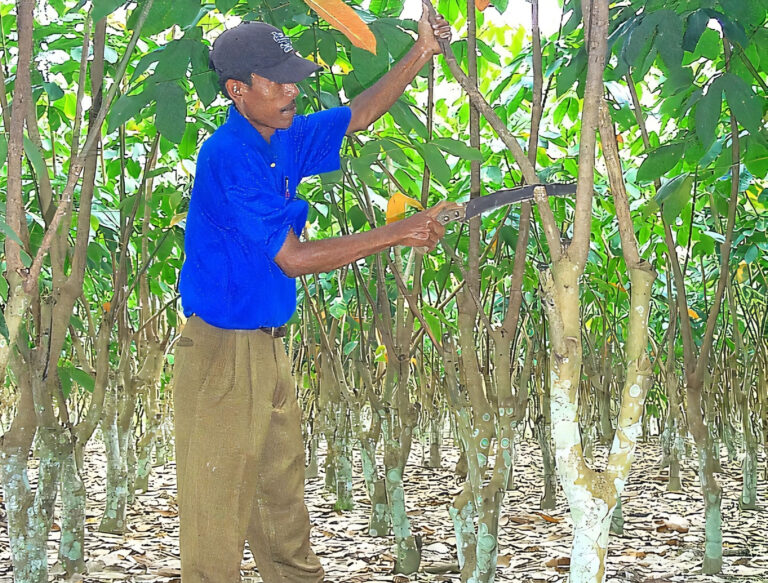
Photo 23 : Cutting buddwood
Normally schedule of cutting is done 2 time per year. One tree per year produce 4 branches x 2 rotation per year x 1 meter per branch x 10 bud wood per meter. Totally per trees per year produce = 80 bud wood
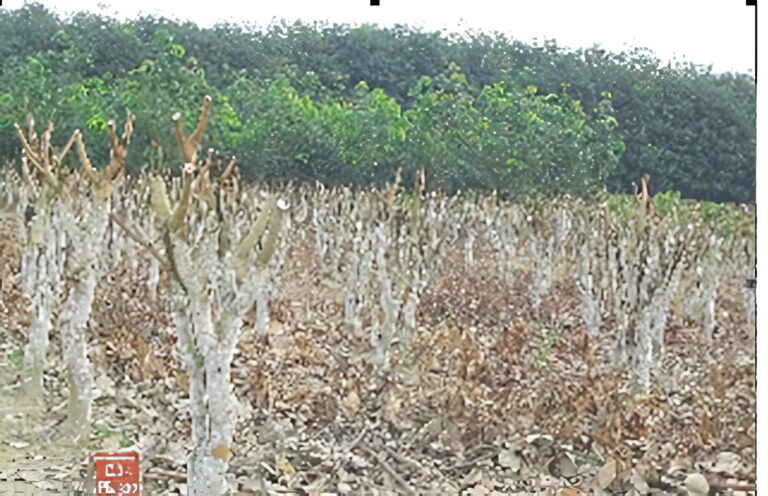
Photo 24 : Kebun entres after cutting branch
Production bud wood per ha per year = 5000 trees x 80 bud wood = 400,000 bud wood or equal 600 ha field. Clone PB 260 , PB 235 , PB 340 , PB 255 , PM 10 , RRIM 921 , RRIM 912 , RRIM 901 are categorized quick starter
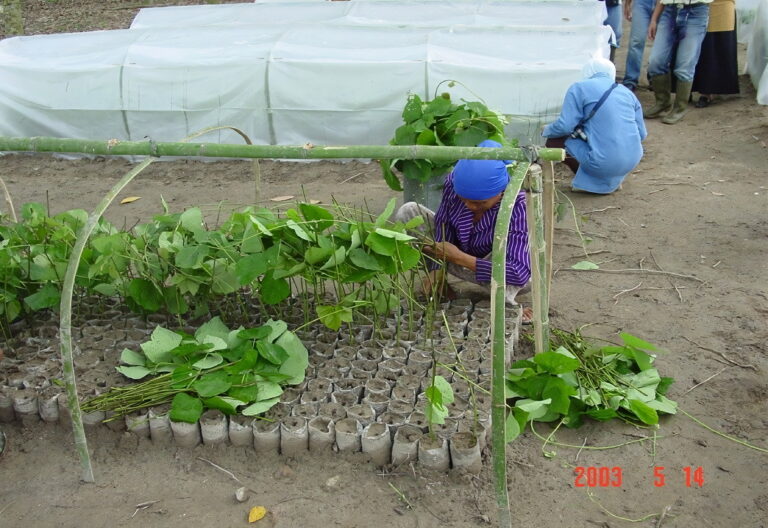
Photo 25 : Vegetative development Mucuna Bracteata ( MB )
MB can be developed by vegetative.. Stem of MB planted in small polybag is covered plastic shown in photo. Watering is done every day . Plastic is opened again next 3 weeks
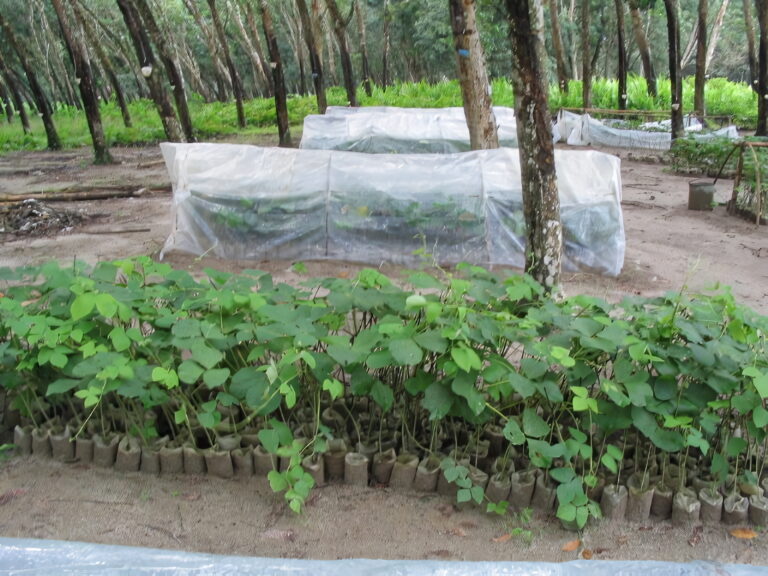
Photo 26 : MB are ready to plan
MB in polybag are ready to transplanting . Percentage success in nursery polibag normally 70 sd 75 % . MB is one of cover crop having highest growth.
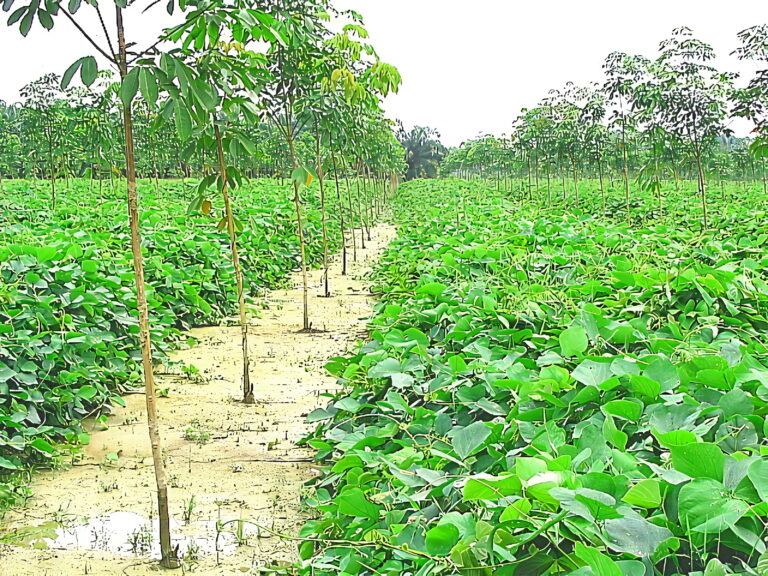
Photo 27 : Cover crop MB
MB is transplanted to field in inter row 400 polybag per ha. .Growth of MB per day is 20 cm . Interr row will be 100% covered for 6 months.
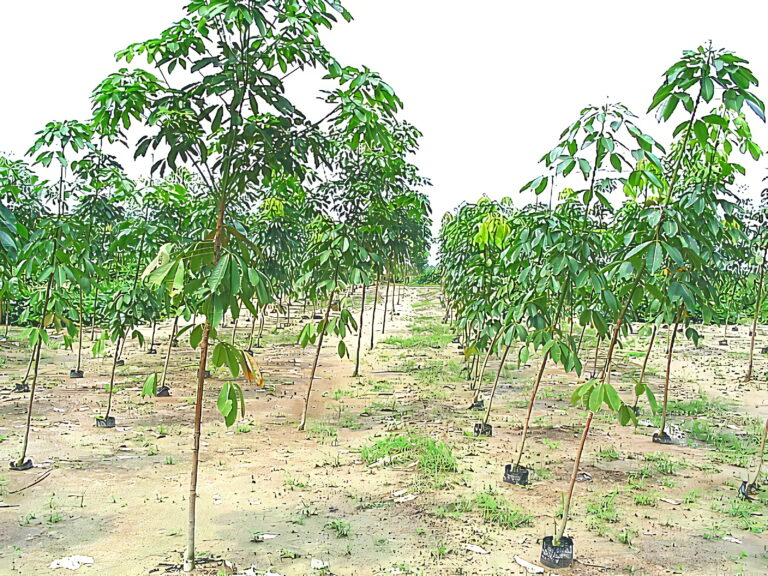
Photo 28 : Advance Planting Material ( APM )
APM is planted together with transplanting rubber in the field.in order to material planting for supplying should be looked uniform . APM is provided 10 % per ha for supplying in first or second of immature period.
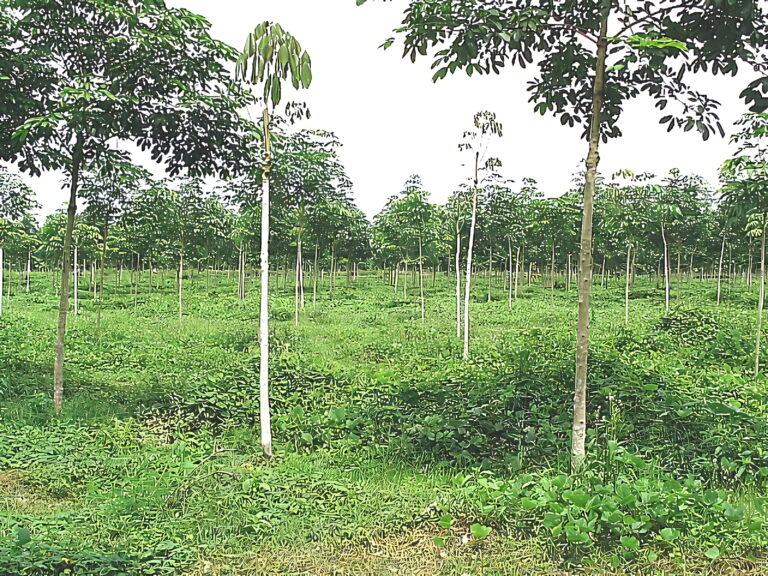
Photo 29 : Supplying by APM .
Supplying must be completed in the end of the second of immature period . If supplying done late until immature 3 branches condition have been shaded. APM can not grow properly due to there is no sun light
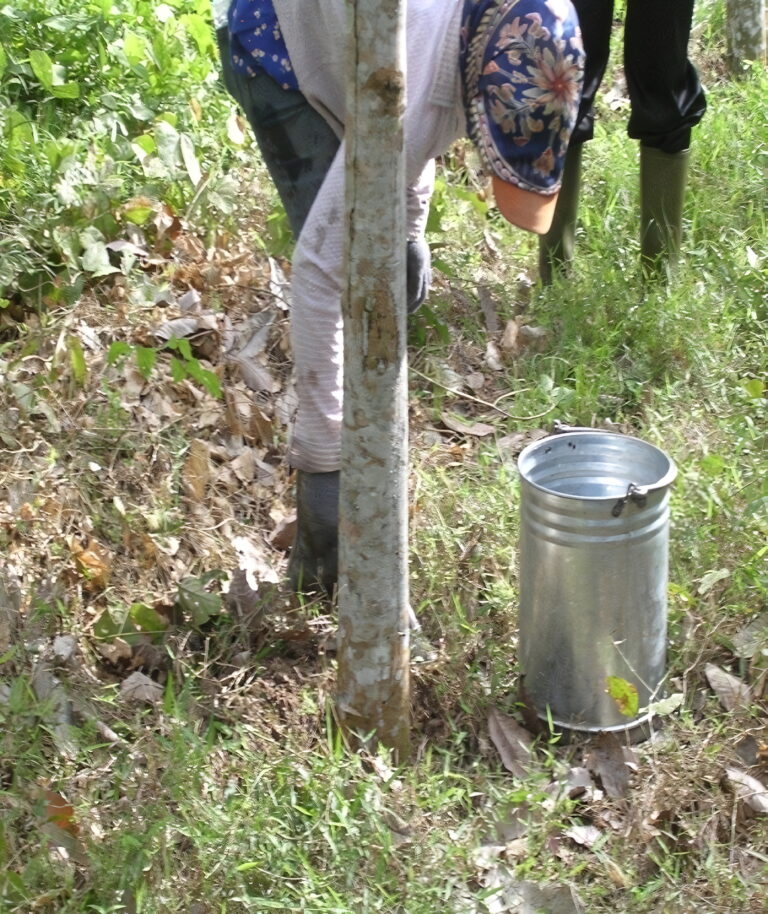
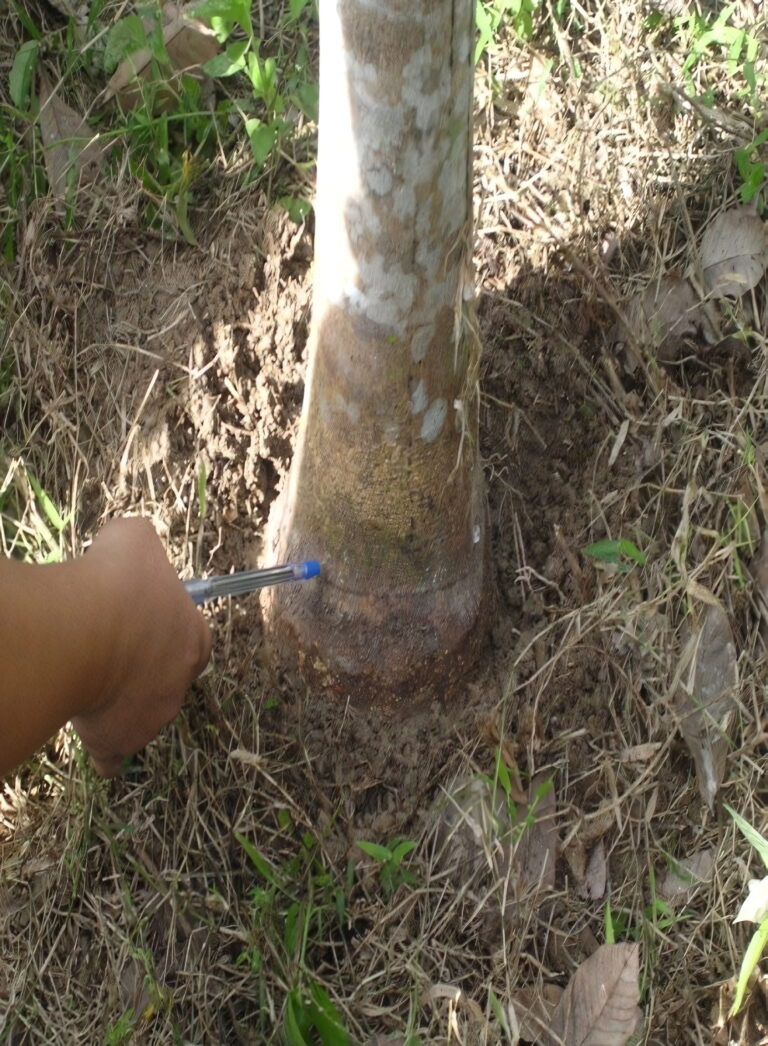
Photo 30 : Check root disease periodically
In the immature period controlling root disease done three times per year. Every tree is checked visually to see root have been attacked or not . If met disease attacking roots as soon as treated by fungicide
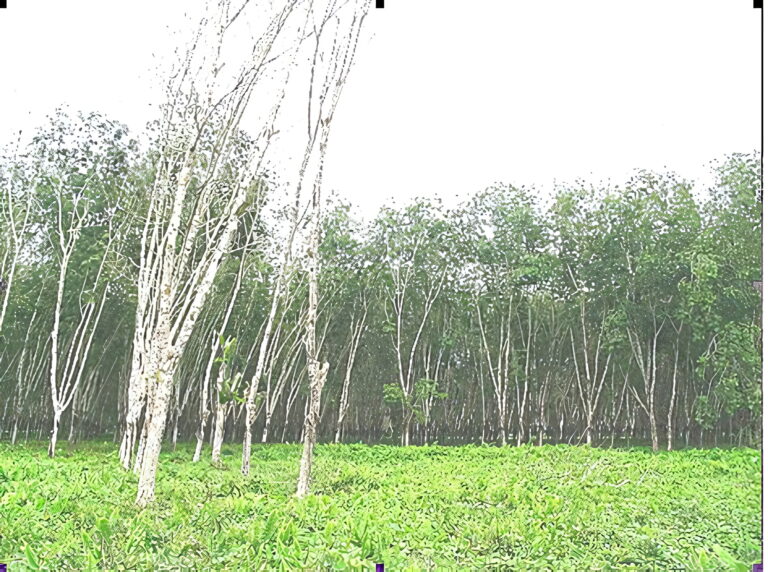
Photo 31 : Attacking root deaseae
It is occurred open spaces due to root deaseae attacking mature rubber trees. Tree will fall slowly and root diseaes will infested sorrounding other trees. The main cause of reducing stand tree per ha is an attacking root diseaes. Automatically potential productivity is also reducing per ha
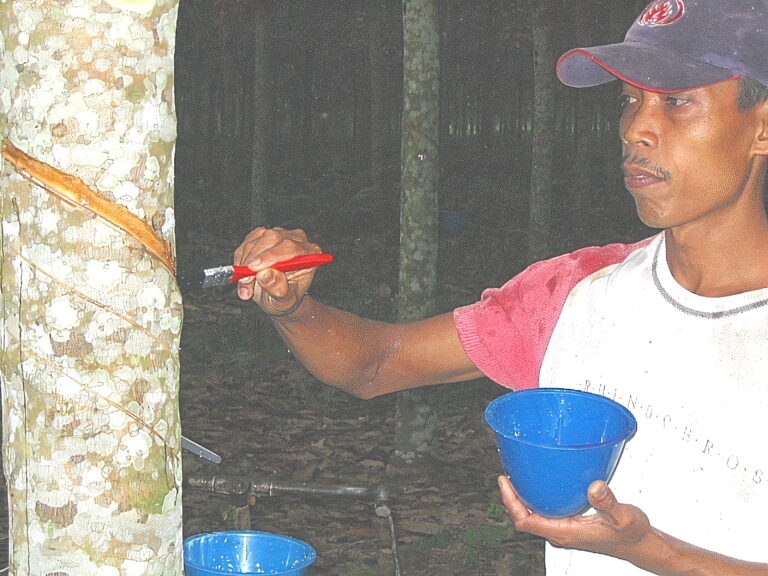
Photo 32 : Busting by chem
Busting by chemical 1 % done one day after opening tapping to stimulate production of latex .In the beginning of tapping , quality of tapping must be maintained . Manager must choose tappers having good diciplin and good skill to ensure no wounding , standard bark consumption
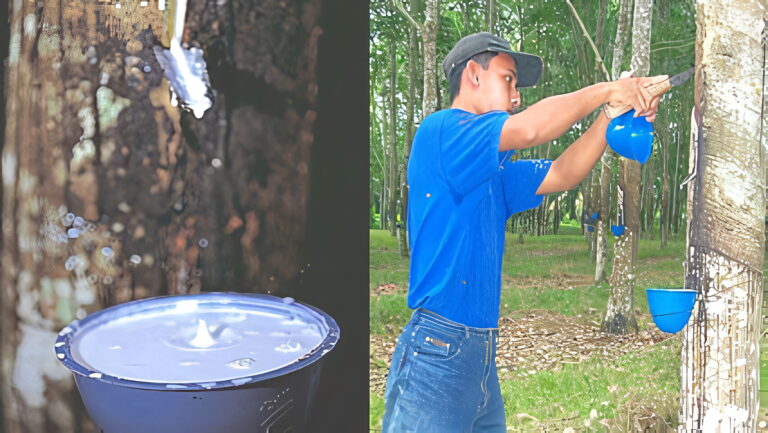
Photo 33 : Tapping
Tapping is begun in early morning in order to get a high production of latex. One tapper must tapp 500 – 550 trees per day depend on density per hectar. Normally for young rubber use tapping system ½ S d/4 plus stimulant 1% after 5 years mature tapping system can be changed to ½ Sd/3 plus stimulant 1.5 %
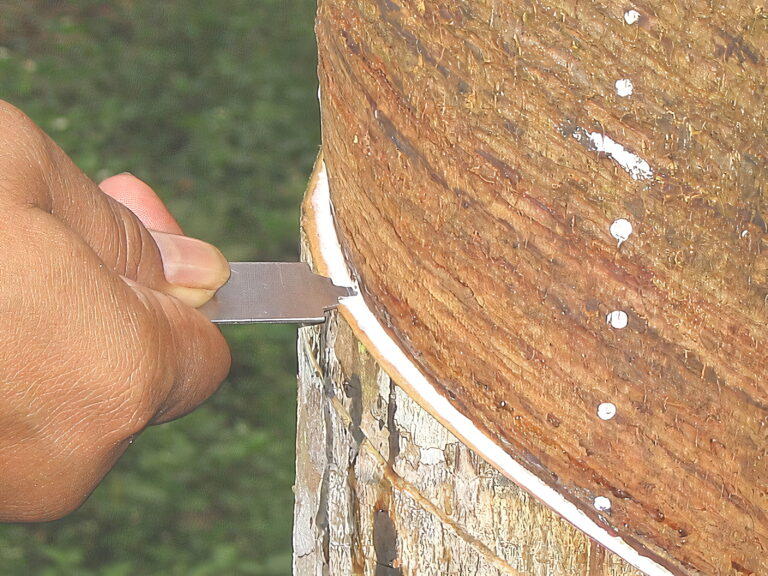
Photo 34 ; Tapping inspection
Tapping inspection must be done by Assistant twice a month to keep a quality of tapping consist of bark consumption, depth of tapping, slope of tapping., wounding , loss of latex . Data in quality of tapping will be used to determine class ot tapper. Ideally 80 % of tapper per mandoran is class A. remaining tapper is class B. Tapper class A wll be given better premium latex than class B
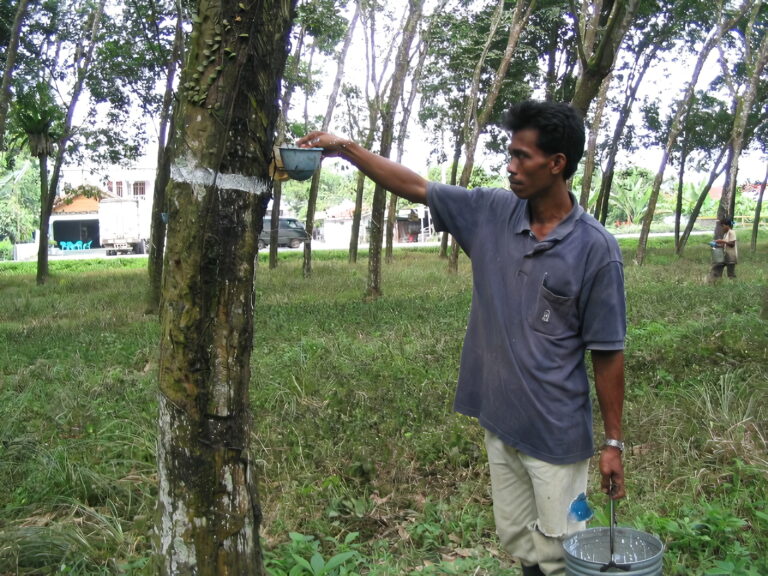
Photo 35 : Collecting latex
After 5 hours tapping , latex must be collected . If start tapping is at 06 00 am start collecting at 11.00 am. To keep quality of latex is mixed amonia solution 5 % in the field
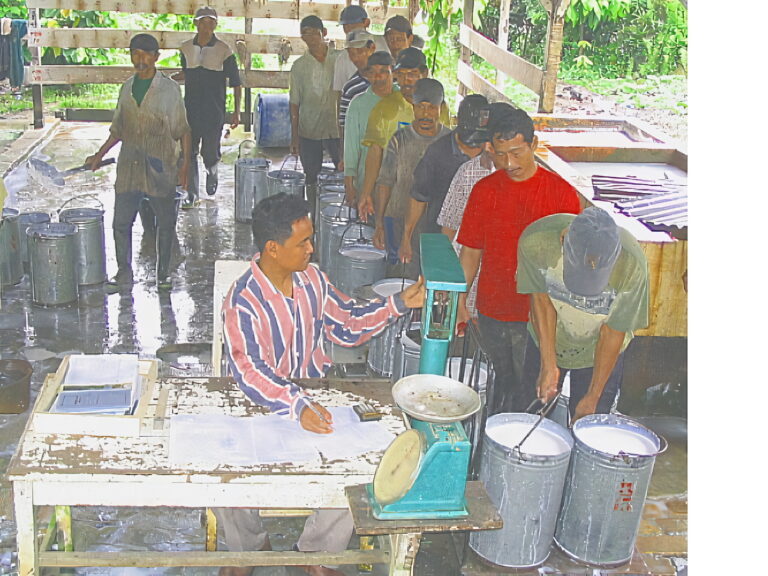
Photo 36 : Weighing latex
Latex from each tapper is weighed in the station latex having capasity 100 – 125 tappers. Beside latex also collected cup lump and treelace..Normally production in the same task from day to day is almost same. If production wet latex is higher or lower significantly than before , amount of wet latex is questioned . Possibility latex is mixed water or latex in the tree is not collected.

Photo 37 : Checking dry rubber contain ( DRC )
Each clone have DRC standart, checking DRC by metrolac done to anticipate tappers who are not dicipliness wih mixing water into latex to increase illegal productivity
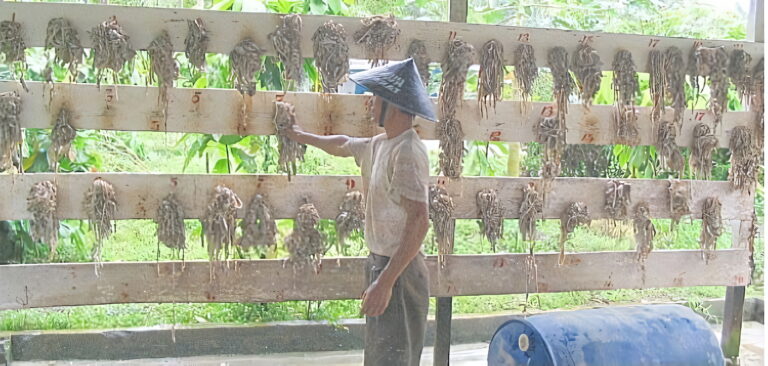
Photo 38 : Trelacee
Every tapper produce trelace 1 – 2 kg depend on clone.In the latex station each trelace hung in the board having a number of tapper . The lazy tapper will bring a few trelace but the diligent tapper outomatically bring a lot of trelacee
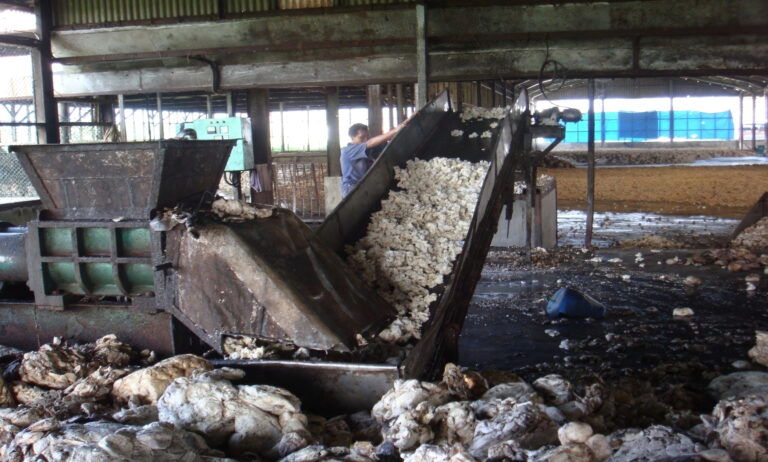
Photo 39 : Prebreaker
Row material cuplump from field is very variative condition. To achieve a consistant product cuplump should be cut to be small to ensure free from contaminan and keep a good quality of maturation process which will produce Po and Mooney more homogen
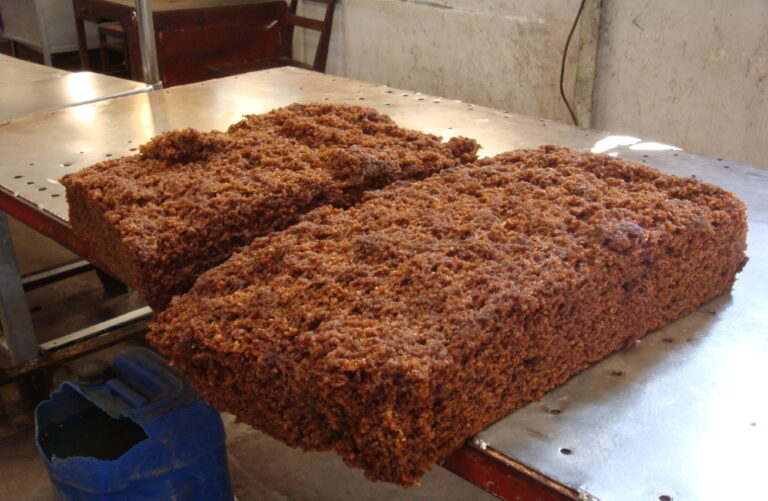
Photo 40 : Crumb Rubber
A small cuplump is cleaned I blending tank to separate with contaminan . After cleaning a small cup lump is cut again to be smaller in extruder machine. In the end of process enter to dryer to be heated for 3.5 hours
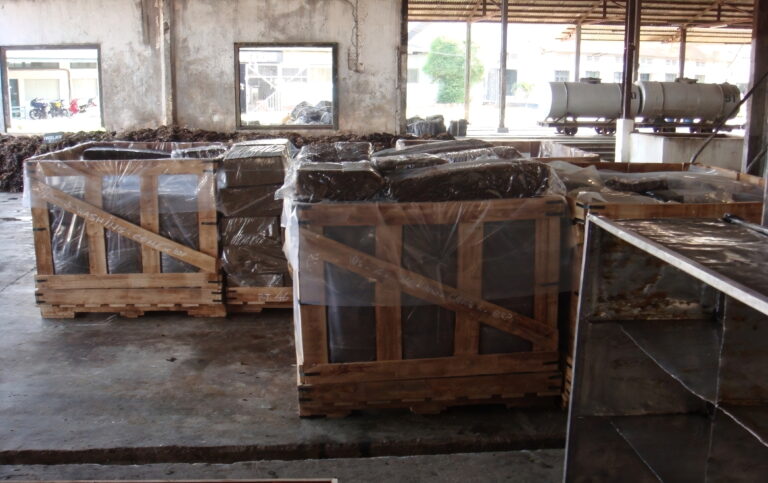
Photo 41 : Packing of crumb rubber
Packings of crumb rubber is ready to be sent to customer
